Guide for Beginners: Shading
Its been a while since i've done one of these and i dont want to ramble so let's jump right into it.
What is Shading/Highlighting?
Simply put shading is a paint technique that simulates Shadows, which can make an object look three dimensional. Technically speaking Shading and Highlighting refer to the same thing, when working off your base coat a darker color will be a shade and a brighter one will be a highlight.
There are several different styles of shading/ highlighting, each with their own pros and cons.

Panel Highlighting - The most prevalent style used in Gundam painting. Each part or subsection is treated as its own "shade area". This style creates a great amount of contrast and so is very visually interesting. Its down side is that is does not convey a sense of realism.

Positional Highlighting - The "Miniature Painting" style. The artist visualizes a point of light and highlights the entire model as a single "shade area". The most common positional light is called Zenithal or "from above"
Positional lighting conveys a great sense of realism but is much more difficult and time consuming to do properly.

Modulation - A rising star in the Gundam hobby. This style attempts to fuse the best parts of the other two. Each part is treated as its own "shade area" but parts are painted lighter towards the top.
This crates a good amount of contrast and is much easier to do than a full on Zenithal highlight but still suffers in terms of realism.
Got all that? Good.
So how do I do it?
This is a question for our old friend the test spoon. For this tutorial we will do a panel highlight style.
If you're observant you may note that i'm using the ultra rare mechanical clear version spoons for this demo. No expense spared.
If you're observant you may note that i'm using the ultra rare mechanical clear version spoons for this demo. No expense spared.

We'll use a nice neutral grey palette, a Midtone, a Shade, and a Highlight.

I start off spraying the entire piece in my Shade color. I'm spraying at 40 psi and about 50:50 paint to thinner.

Next is the Midtone. I want to cover only 70 percent of the part leaving the edges darker. I spray it at 40 psi and about 40:60 paint to thinner.

Next comes the Highlight. This layer should only touch the very center of your part, maybe 40 percent of the surface. I spray it at 25 psi and 40:60 paint to thinner.

Finally, to Soften the shading I spay very diluted pure white as a Dust coat. This is applied at 20 psi and 30:70 paint to thinner. As a general rule of thumb, the more white your colors contain the softer they will be.

The completed part. As you can see it appears to "Glow" from a distance because of the soft transitions of color.
With 2 colors

The same concept applies here but we will be mixing the two colors to create our Midtone.

Base color. 40 psi 50:50.

Without cleaning my airbrush I add some of the highlight color and mix to create the Midtone. 40 psi 40:60.

Finally pure highlight. 25 psi 40:60.

And a final Dusting of pure white to soften. This step in entirely optional. Do what you think looks best.
Working with White
Since white is the highest possible light, it can sometimes be difficult to work with. If your parts are not explicitly meant to be white i recommend saving it for your final light.
White paints are dependent on good consistency, even more so than others. I NEVER spray white at less dilution than 40:60 because it tends to frost up and splutter.
I highly recommend Gaia Notes ultimate white and their retarder.
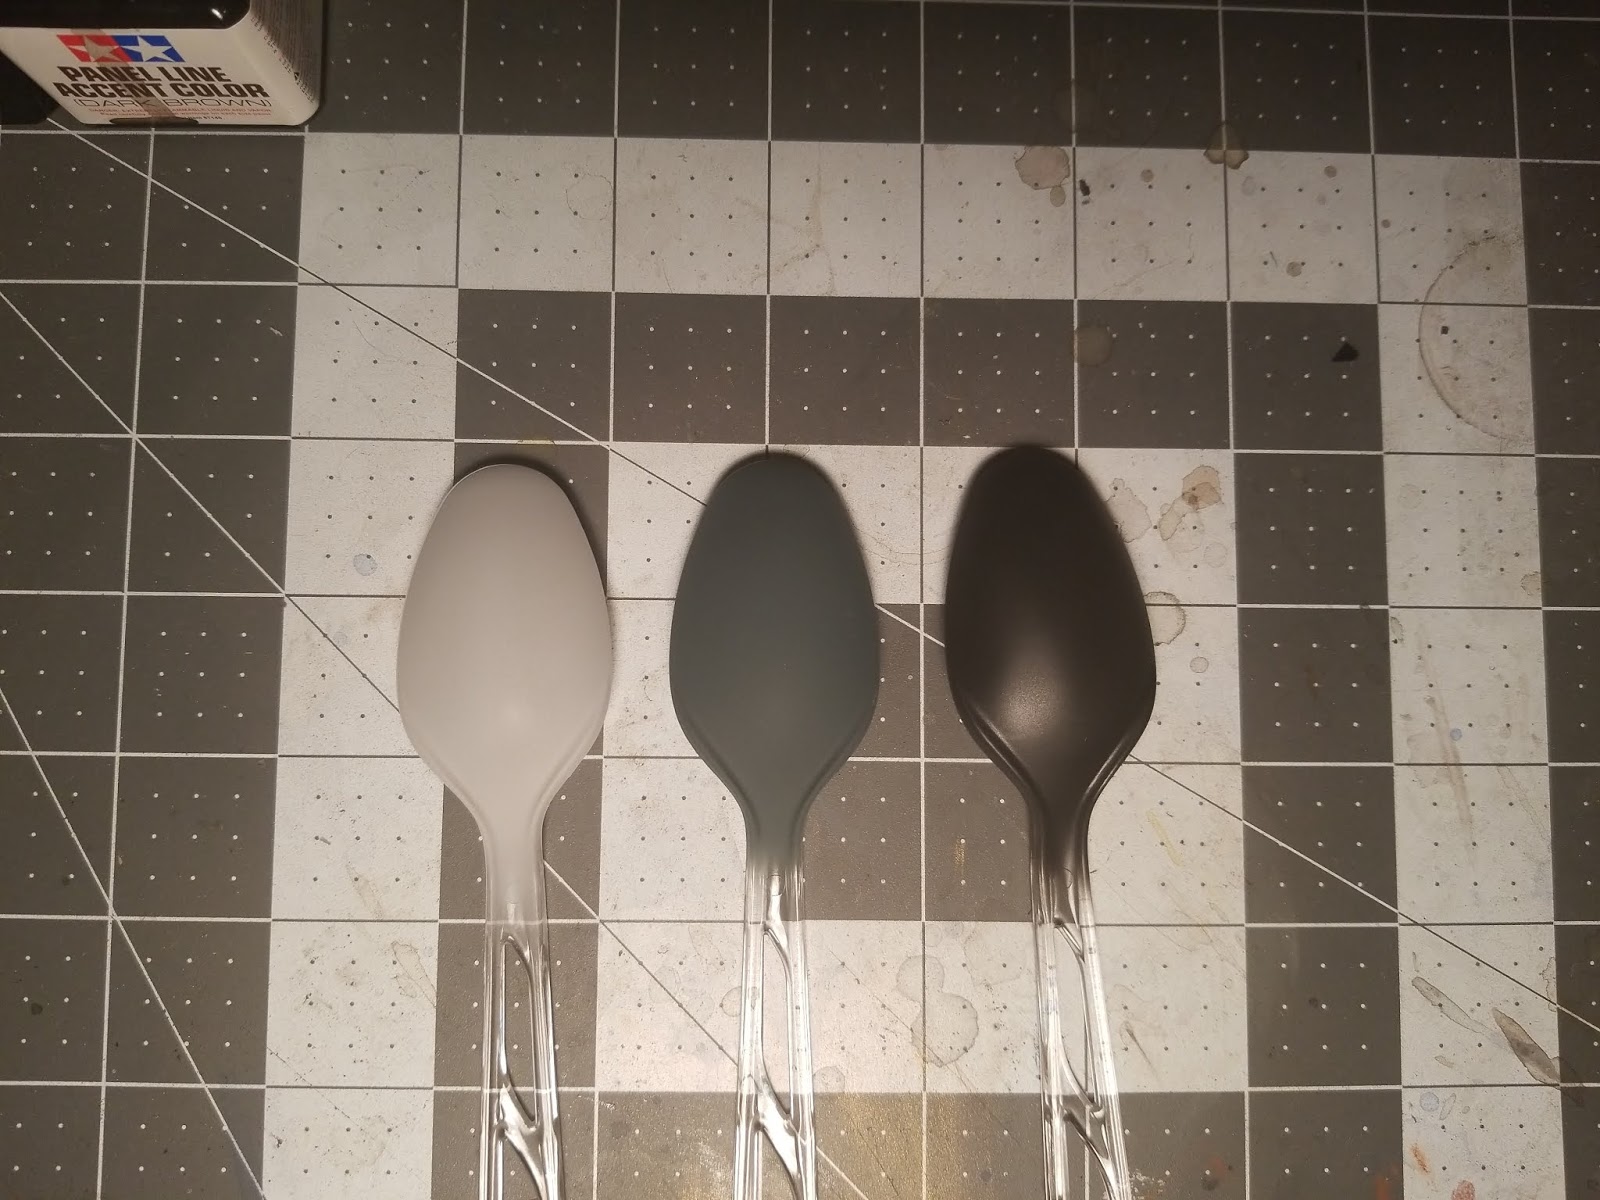

3 different base coats, Grey, Blue, and Black. as you can see there isn't all to much difference. The black base coat however took 4 coats of white to cover. Consider using a blue or dark grey base coat for your white parts.
That's all for today folks. I hope this tutorial helped you!


Comments
Post a Comment