Posts

Showing posts from March, 2015

From the backlog: Swagguy

Image
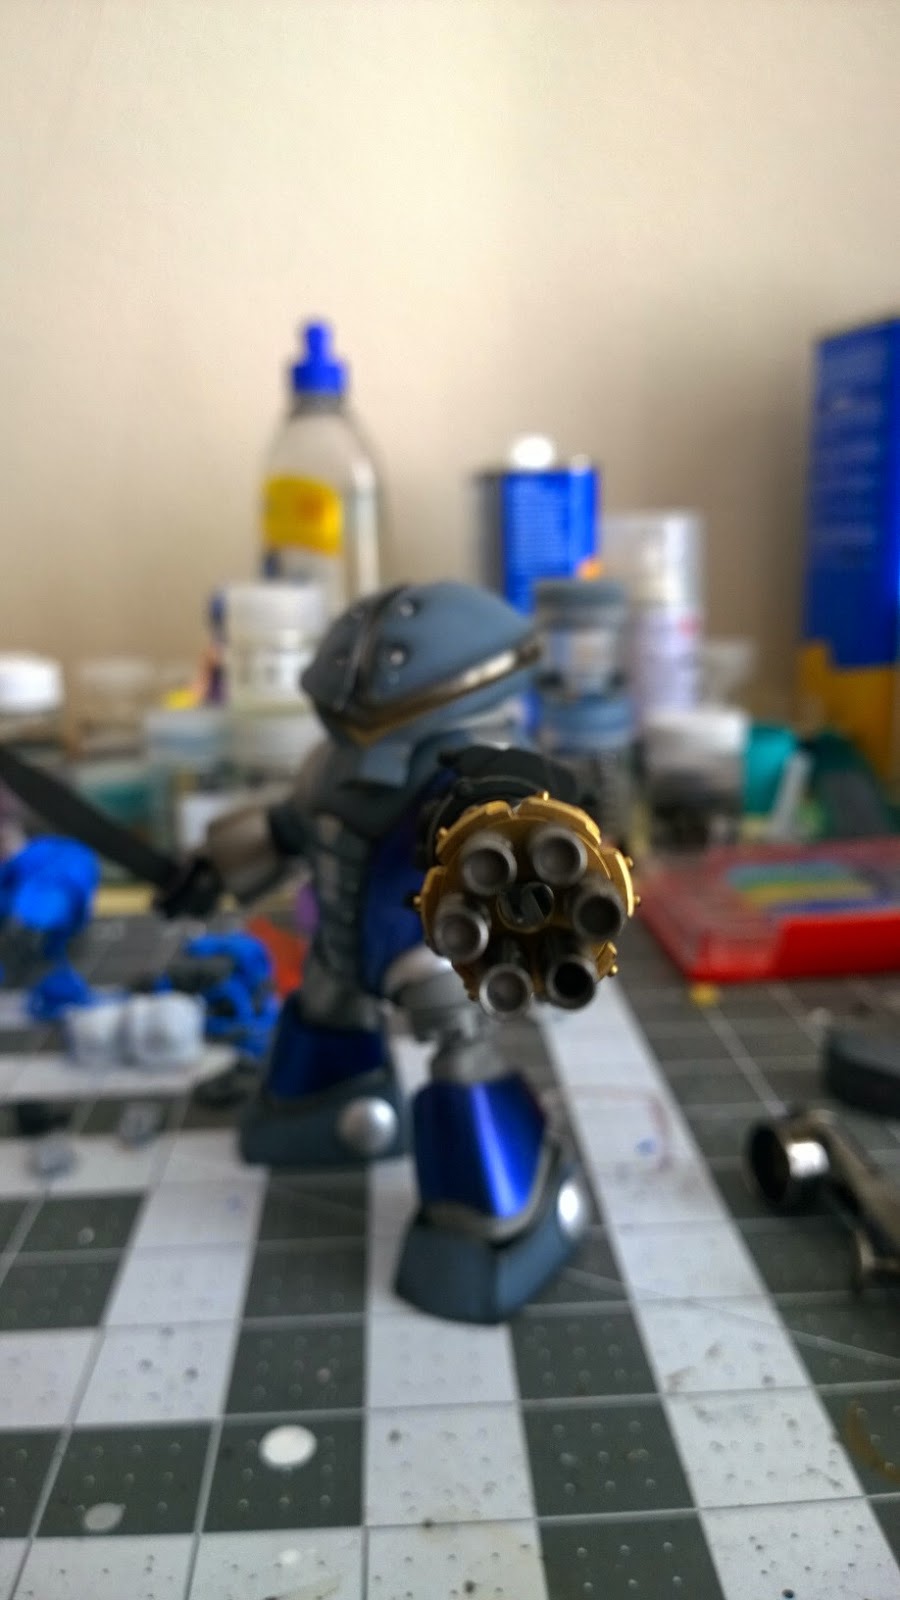
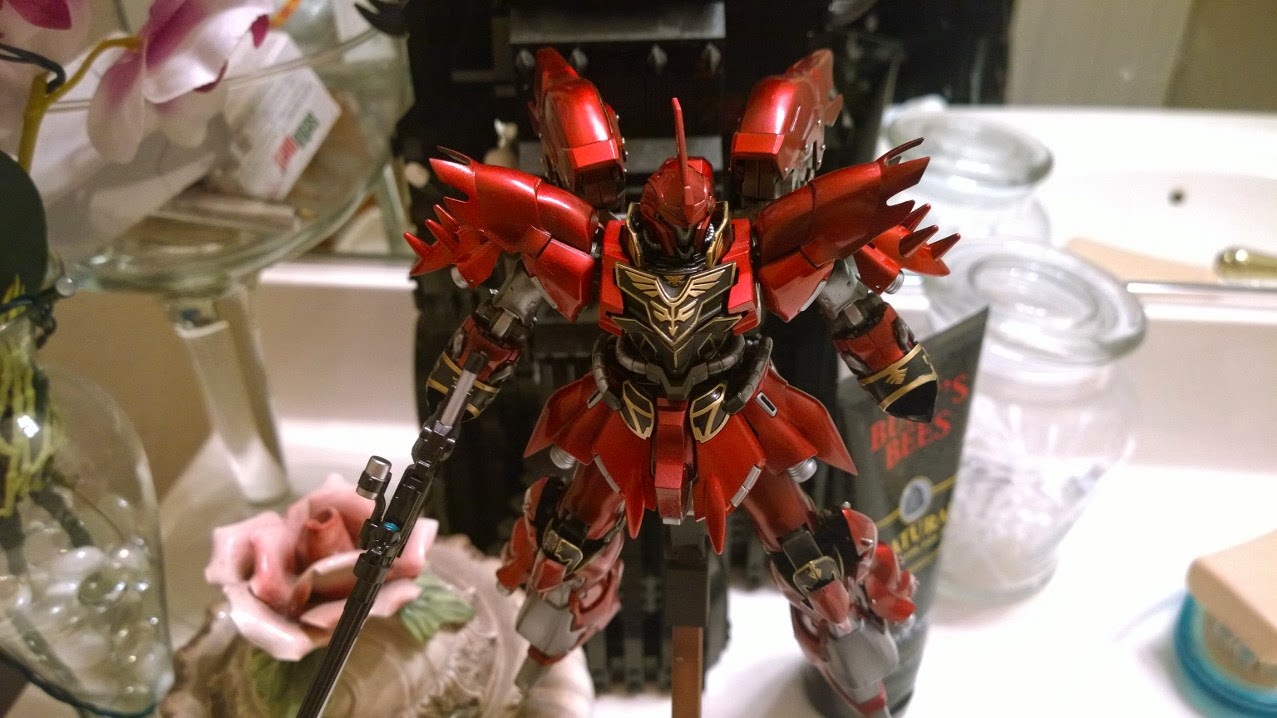
My custom build of Bandai's HGUC 1/144 Acguy Small fast aquatic MS with claws and missile hands, he's very poseable and dirt cheap to boot. There is a lot to like about Acguy. He's been in my top 3 designs for a long time. This guy has been sitting on a shelf for almost a year, I lost quite a few of his pieces during the build so I had to get creative. His stock hands have been replaced with a koto gatling gun and the Zogok's heat sword. Pre-weathering / damage.  Some grime built up and armor damage. And totally beat up. The ammo drum fit right into a 3mm pin vise hole. No glue needed. Some hangar shots. The contrast points on his chest and shoulders may be the first lines I ever scribed. I'm really proud of how well the gatling gun came out. He's a bit brighter than the rest of the team with all his silver. I still plan to make some kind of diorama for my Titan

A beautiful brick

Image
My custom build of Bandai's HGUC 1/144 Sinanju I've let the paint dry and cure. It's been over a week and I'm still afraid to touch it. This project reminded me just why I dislike doing allover candy paint jobs, It looks absolutely great but you can't move the thing at all. I don't have much to say about this kit other than the standard gripes about ball and socket leg joints and it's sleeves preventing it from holding it's weapons properly. I'll let the pictures speak for themselves, It was a herculean effort to get the sinanju positioned without damaging it's paint job. Enjoy. Makes me think of cherry jolly rancher. It can barely hold it's rocket bazooka using hobby base hands. The red looks much darker under white light. If you like this work come check it out in person at the santa fe showroom on april 11th at the hobby town con

Sinanju WIP 3: Buffing powder and Candy effects

Image
What's a candy effect? Candy color is a 3 stage process of painting, First the part is sprayed black usually with a lacquer for the base. Second the part is sprayed a high shine silver. This allows the top color to look "wet" and shiny. Third a clear color is sprayed on top. The final color of a candy paint job relies heavily on the preparation you put into the part. Scratches finger prints and dust can all spell disaster for the finish so you must be very careful. I always recommend washing your parts with warm soapy water or soaking them in a de-greaser like simple green or purple power before working on a high shine finish. You should wear rubber gloves when working with powders and pigments or handling painted candy parts, I also like to store my parts in sandwich bags after they have fully dried. Let's take a look at two ways to get a high shine candy finish. What you will need: Primer. Gloss black lacquer. A shiny silver. Either powder

Sinanju WIP 2: Washing up

Image
Most sleeves mobile suits have some form of emblem or insignia to mark their rank and affiliation. These are graphically represented by raised areas over armor that are very difficult to paint either free hand or through tedious masking. To make painting these details easier I will be using a technique called a wash. Whats a wash? Wash is a term used to describe using two or more different types of paint together to achieve a desired effect or finish. A common practice is to use enamel paint thinned with lighter fluid to fill in panel lines over a model which has been top coated, this is called a panel wash. To paint the Sinanju's sleeves I will be doing this process in reverse. First painting the base color in lacquer and then spraying enamel over that. When I remove the top coat of enamel the bottom coat of lacquer will show through unharmed. Here's what you will need: Lacquer paint. I'm using Tamiya spray lacquer which i've decanted. Enamel paint. I